Segmental Block Installation: The Sequence That Works
How a segmental block wall goes together: base trench, first course, geogrid, drainage, caps, and compaction, with the checks that decide wall life.
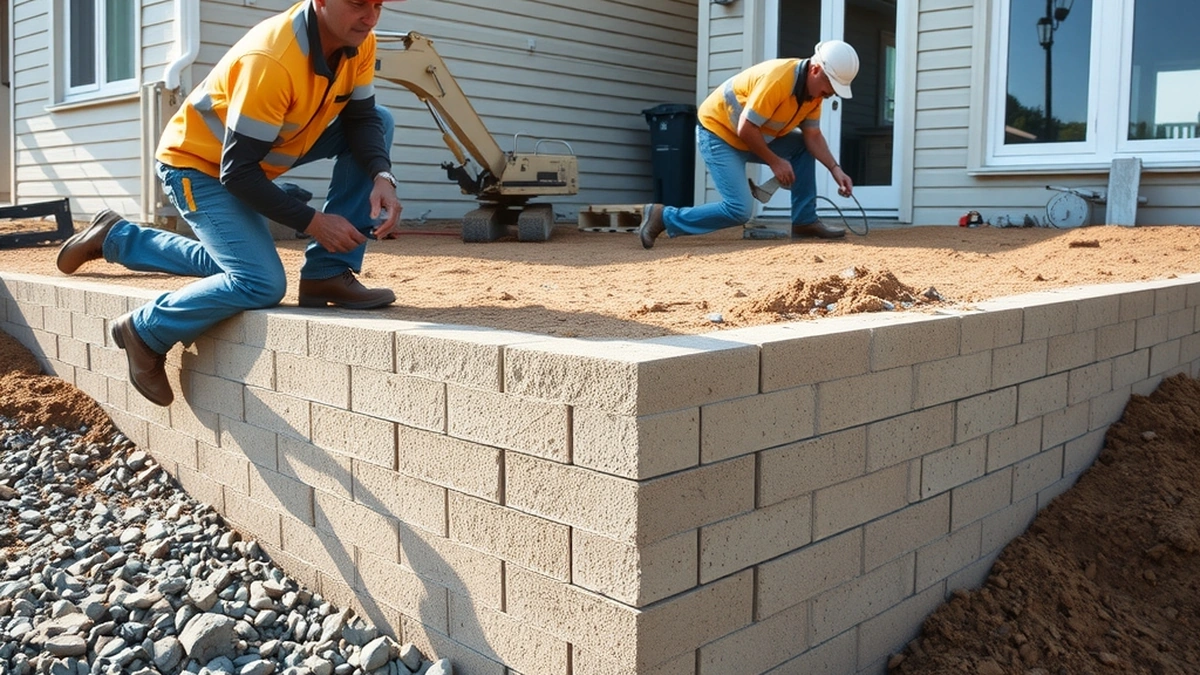
Segmental block installation follows a fixed order: excavate and compact a base trench, set and level the first course, stack and pin units, add geogrid where designed, install drainage stone and pipe, then cap and backfill in lifts. Base and drainage decide wall life.
- Base trench depth
- 6 to 12 inches
- Base trench width
- 12 to 24 inches
- Backfill lift thickness
- 8 inches maximum
- Compaction target
- 95 percent of standard Proctor
- Drainage gravel
- 12 inches behind the face
Some links on this page are affiliate links.If you buy through them we may earn a commission at no extra cost to you. We do not accept payment for rankings. Read the full disclosure.
Segmental block installation is the process of building a dry-stacked, gravel-based retaining wall from interlocking concrete units, and the work succeeds or fails before the first block is laid. The base trench and the drainage behind the wall carry the load and relieve the water; the stacking is the visible part. A wall built in the right order lasts decades, and one built in the wrong order looks identical for about three years.
The Sequence at a Glance
A segmental wall goes together in seven stages: layout, excavation, base, first course, stacking with geogrid, drainage, and caps with backfill. Each stage hides the one before it, which is why inspections are scheduled between them rather than at the end.
The wall is a gravity structure with a flexible face. It resists soil pressure through its own mass and, on taller walls, through geogrid that ties the block to the soil behind it. Nothing is glued or mortared, so the wall can move slightly without cracking, provided the base is stable and the water has a way out.
| Stage | What to verify | Common shortcut |
|---|---|---|
| Base | Compacted gravel, 6–12 in deep | Blocks set on soil |
| First course | Level and fully buried | Partial embedment |
| Geogrid | Spacing, direction, embedment | Laid slack or crosswise |
| Drainage | Stone, fabric, pipe slope | Pipe level or no outlet |
| Backfill | 8 in lifts, compacted | Thick lifts, no compaction |
| Caps | Adhesive and overhang | Mortared caps |
Before You Dig
Two things come before excavation: permission and location. Check the local height threshold for a retaining wall permit, and call the utility locate service. Irrigation, gas, electrical, and fibre lines are routinely buried within a few feet of where a wall wants to go.
Mark the wall line with stakes and a string, and check the height at both ends against the plan. A wall that is 30 inches at one end and 54 inches at the other is a different design from the one on the drawing, and the base depth follows the taller end. For the permit side, see retaining wall permit.
The Base Trench Decides Everything
The trench is typically 6 to 12 inches deep and 12 to 24 inches wide, and it must bear on undisturbed soil or engineered fill. Organic material, topsoil, and soft spots come out, not get covered.
Fill the trench with compacted, free-draining gravel in 4 to 6 inch lifts. Each lift is compacted before the next goes in, to about 95 percent of standard Proctor density. A plate compactor is adequate for a residential wall; a jumping jack is too aggressive on the gravel and a hand tamper is not enough.
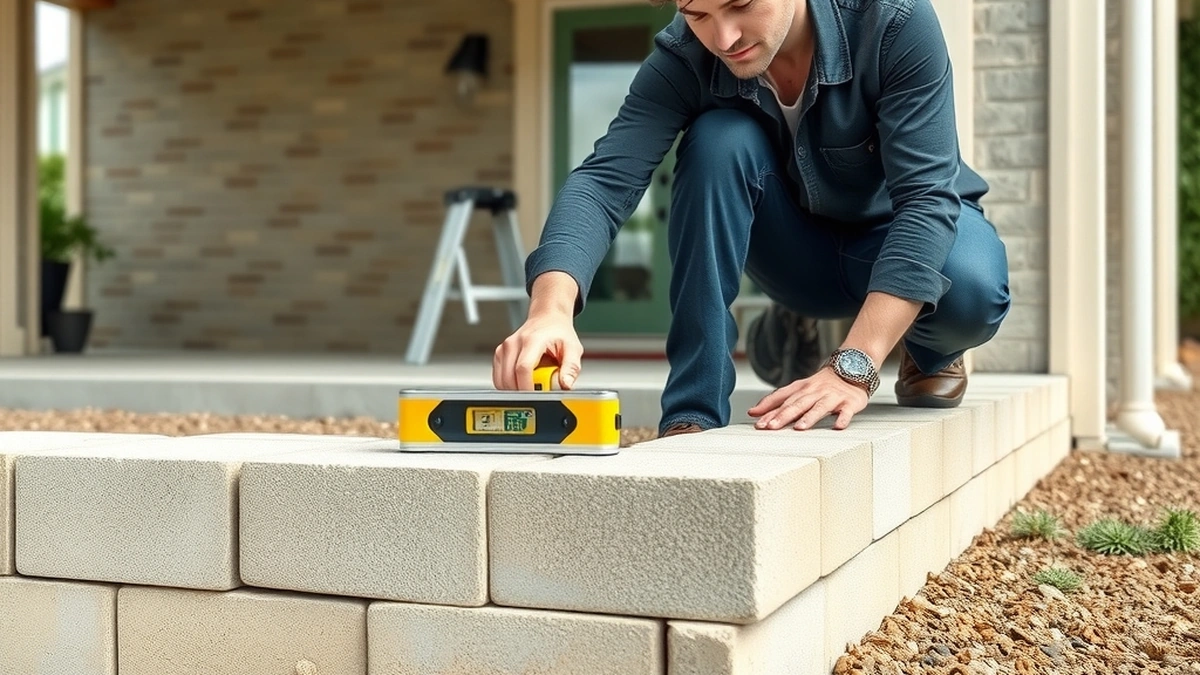
Check the base with a level and a straightedge in both directions. Any dip shows up as a wavy first course, and every course above it inherits the wave.
Setting the First Course
The first course is fully buried, which is what gives the wall its toe resistance. It is laid on the gravel, checked for level, and adjusted with thin lifts of fine gravel rather than by tipping blocks.
Set the first block at one end, then work along the line with a string pulled tight. Check level every few blocks rather than at the end, because correcting a long run of blocks is far slower than correcting one. The support and geogrid guide covers how the first courses connect to the reinforcement above.
Stacking, Pins, and Geogrid
Courses stack with a running bond, so each block spans the joint below. The lip, pin, or keyway engages the course beneath and sets the batter, which is usually about 1 inch per foot of height.
Geogrid goes in where the design says, usually every second course above the base. It is laid flat on the block, pulled taut toward the slope, and covered by the next course. The embedment length behind the face is specified by the engineer or the manufacturer’s chart, commonly 3 to 5 feet on a residential wall.
Two errors account for most geogrid failures: laying it with slack, and laying it in the wrong direction. Geogrid has a strong axis, and a roll installed 90 degrees off provides almost no reinforcement.
Drainage Behind the Wall
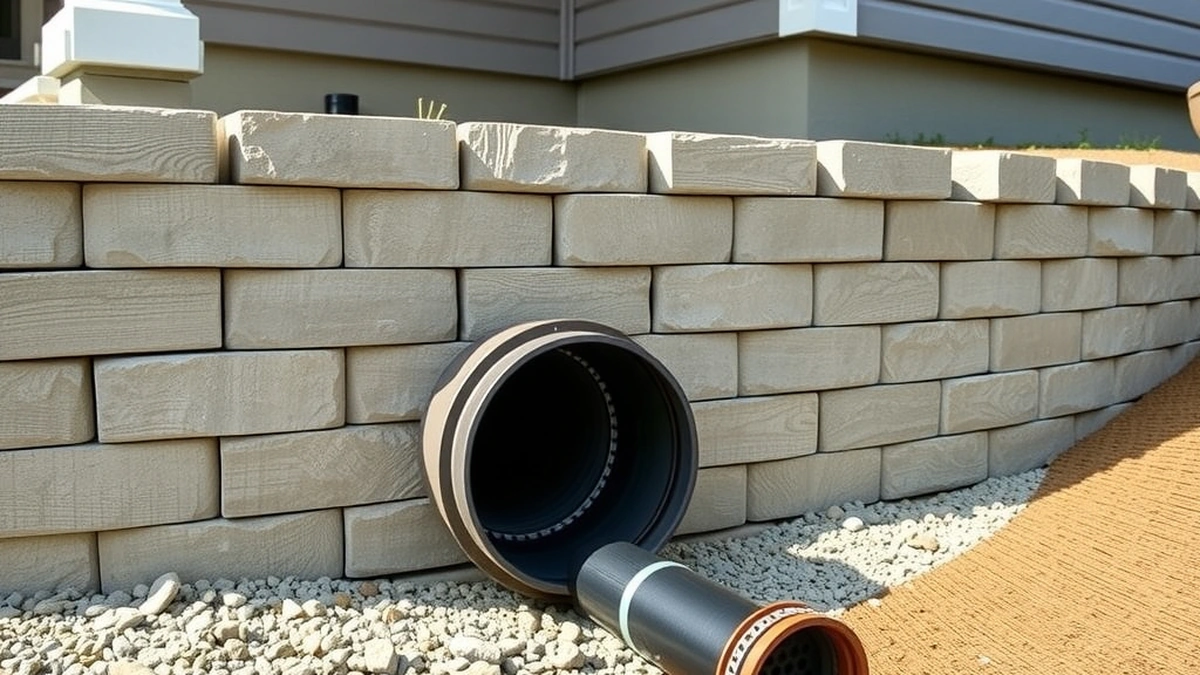
A 12-inch layer of clean, free-draining stone sits between the block and the retained soil, separated from the soil by filter fabric. A 4-inch perforated pipe runs at the base of that stone, on the footing, and outlets to daylight or to a storm system.
The pipe has to slope. A level pipe holds water and defeats the purpose. The outlet is the part that gets forgotten: if the pipe ends in a planted bed against the wall, the water returns to the backfill.
Backfill and Compaction
Backfill goes in 8-inch lifts, and each lift is compacted before the next. Heavy equipment stays at least a wall height away from the face, because a plate compactor is fine next to the block but a skid steer is not.
Keep the backfill grade sloping away from the wall at the top, so surface water runs off rather than into the gravel. A wall with perfect underdrainage and a grade that drains into it still takes water it was not designed for.
Caps go on last, adhered with a flexible construction adhesive rather than mortar, so they can move with the wall. They overhang the face slightly and shed water away from the block. On a curved wall, factory corner and radius units avoid field cuts that look improvised.
How to Check the Work
- Confirm the base is compacted gravel, not soil, and that it is level along its full length.
- Check the first course for level and for full embedment before any stacking continues.
- Verify geogrid spacing, direction, and embedment against the design, layer by layer.
- Confirm the drainage stone is clean, the filter fabric is in place, and the pipe slopes to an outlet.
- Measure the batter against the specified rate, and check the wall line with a string.
- Photograph each stage, because the inspection and any later repair both depend on what is buried.
For what the finished wall should cost, see segmental block cost. For the failures that trace back to these stages, read segmental block problems, and for the drainage detail in full, retaining wall drainage.
Frequently asked questions
How deep should the base be for a segmental block wall?
Six to twelve inches of compacted gravel, wider than the block by at least 6 inches on each side. The trench must reach undisturbed soil or engineered fill, and the first course sits fully buried. Soft or organic soil has to be removed, not covered.
Do you need a concrete footing for a segmental wall?
No. A segmental wall is a flexible gravity structure and sits on compacted gravel, which is one of its advantages over poured concrete. That flexibility is what lets it tolerate minor movement without cracking, provided the base is properly prepared.
How often should geogrid be installed?
Where the design calls for it, usually every second course, starting one or two courses above the base. The engineer or the block manufacturer's chart sets the spacing and the embedment length, which is typically 3 to 5 feet behind the face for a residential wall.
How much gravel goes behind a block wall?
A 12-inch layer of clean, free-draining stone between the block and the retained soil is the common detail, with filter fabric separating the stone from the soil. The stone relieves water pressure and keeps fines from clogging the drainage path.
Can I install a segmental wall in winter?
Only if the ground is not frozen and the base can be compacted. Frozen soil cannot be compacted to specification, and it settles when it thaws. Most crews stop wall work when the ground freezes and resume in spring.
How long does a segmental block wall take to install?
A 120-square-foot wall is typically two to four days for a crew, including excavation, base, stacking, drainage, and caps. Site access, excavation volume, and inspection scheduling move that more than the wall size does.
Sources
Some links are affiliate links.If you buy through them we may earn a commission at no extra cost to you. We do not accept payment for rankings. Read the full disclosure.