Timber Installation for Retaining Walls
Timber installation for retaining walls: post spacing, board stacking, gravel base, deadmen, and drainage, with cost arithmetic for a US yard.
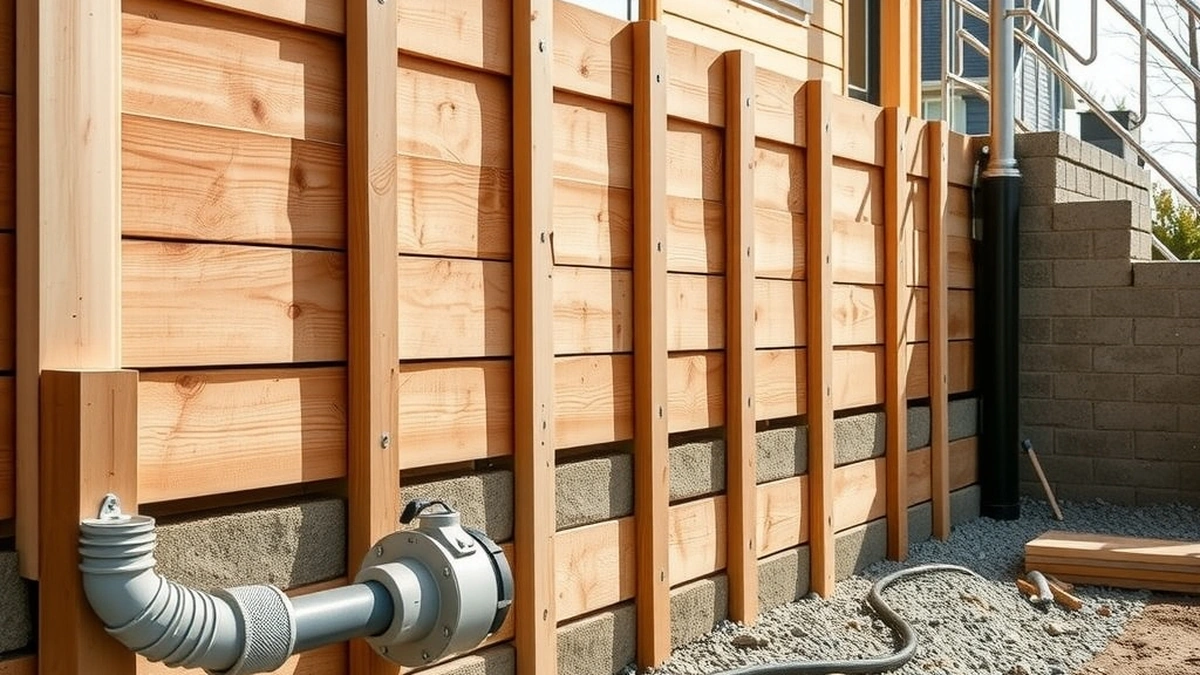
Timber installation means setting treated posts or deadmen in a gravel base, stacking timbers tight behind them, and backfilling with clean gravel and a drain. Material is $10 to $25 per square foot.
- Timber material
- $10-$25 per sq ft
- Drainage and backfill
- $5-$15 per sq ft
- Typical post spacing
- 4-8 ft on center
- Practical height limit
- 4 ft without engineering
Some links on this page are affiliate links.If you buy through them we may earn a commission at no extra cost to you. We do not accept payment for rankings. Read the full disclosure.
Timber installation is the cheapest way to hold back a low residential slope, and it fails for one reason more than any other: water stays in the soil behind the boards. A timber wall is a row of posts or deadmen holding stacked horizontal members, with clean gravel and a drain pipe behind the face. Done in the right order, the wall lasts decades; done as a stack of boards against wet clay, it bows within a few seasons.
What a timber wall is
A timber retaining wall is a gravity and tie-back structure built from pressure-treated lumber, with horizontal members stacked behind vertical posts and, on taller walls, deadmen extending back into the retained soil to resist overturning. It is not a fence with soil behind it, and it is not a crib wall unless the members are interlocked in a cellular pattern.
Two details separate a wall from a pile of lumber. The base must be gravel, not soil, so the bottom course does not sit in water. And the wall must be tied back, either by posts driven or set in concrete below the failure wedge, or by deadmen and anchors reaching into stable soil.
Materials, sizing, and cost
Material cost for timber runs $10 to $25 per square foot of wall face, and drainage and backfill add $5 to $15 per square foot. For a wall 30 feet long and 3 feet high, the face is 30 × 3 = 90 square feet. At the low end, 90 × $10 = $900; at the high end, 90 × $25 = $2,250. Drainage adds 90 × $5 = $450 to 90 × $15 = $1,350, so the complete wall lands between $1,350 and $3,600.
Typical members are 6x6 posts and 4x6 or 6x6 horizontal timbers, with 2x material reserved for low garden walls.
| Element | Common size | Note |
|---|---|---|
| Posts | 6x6, 4-8 ft on center | Set below the gravel base |
| Horizontal members | 4x6 or 6x6 | Joints offset, not stacked in line |
| Base gravel | 4-6 in compacted | Washed crushed stone, not fines |
| Drain pipe | 4 in perforated | Holes down, outlet daylighting downhill |
| Fasteners | 1/2 in galvanized bolts | Hot-dip or stainless, not electroplated |
Layout and excavation
String a line along the face and set batter, the backward lean, at roughly 1 inch per foot of height. A 3 foot wall leans back about 3 inches at the top. Batter is not cosmetic: it puts the wall’s center of mass behind the toe and lets the wall resist overturning with less embedment.
Excavate a trench wide enough for the timbers plus 12 inches behind the face for gravel, and deep enough to bury the first course 6 to 12 inches below grade. Cut the trench bottom flat. A base that follows the slope will let the wall creep downhill.
Call 811 before digging. Utilities are commonly buried at 18 to 36 inches, which is exactly the depth range a retaining wall trench occupies. Excavation deeper than 5 feet also brings OSHA cave-in protection rules into play, so a tall wall is a contractor job, not a weekend one.
The installation sequence
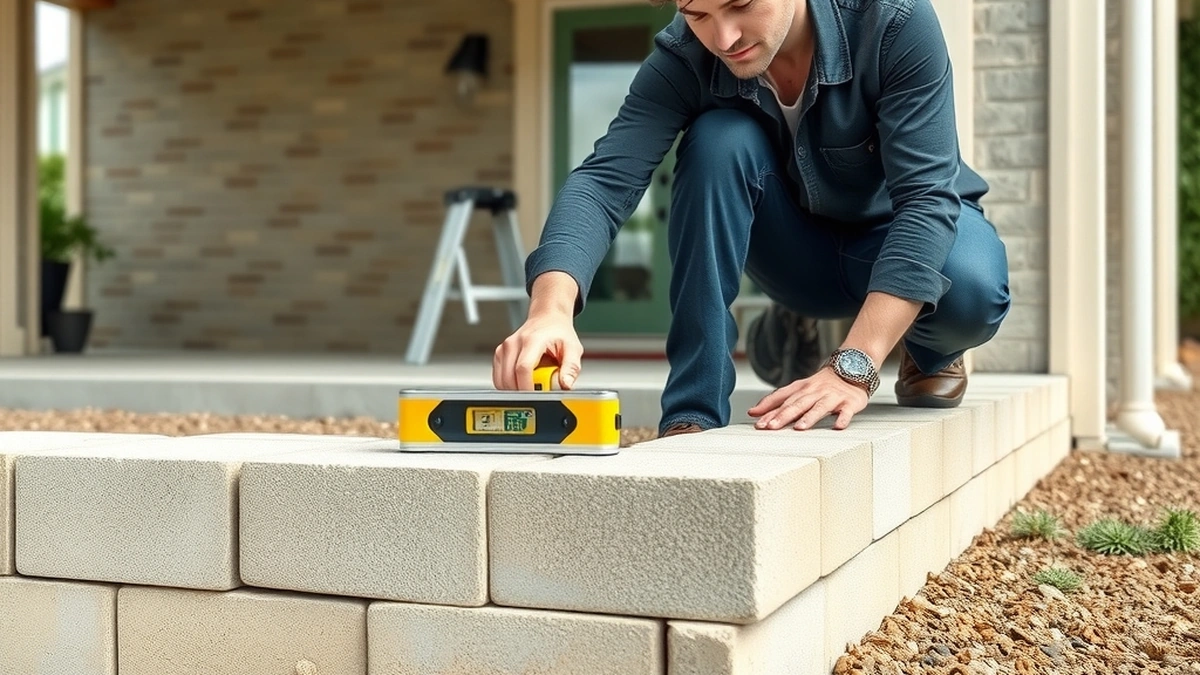
- Compact a 4 to 6 inch gravel base in the trench, then set the first course of timbers level and check it with a spirit level along its full length.
- Set posts or deadmen at 4 to 8 foot spacing, embedded below the base and tied to the horizontal members with galvanized through-bolts rather than nails.
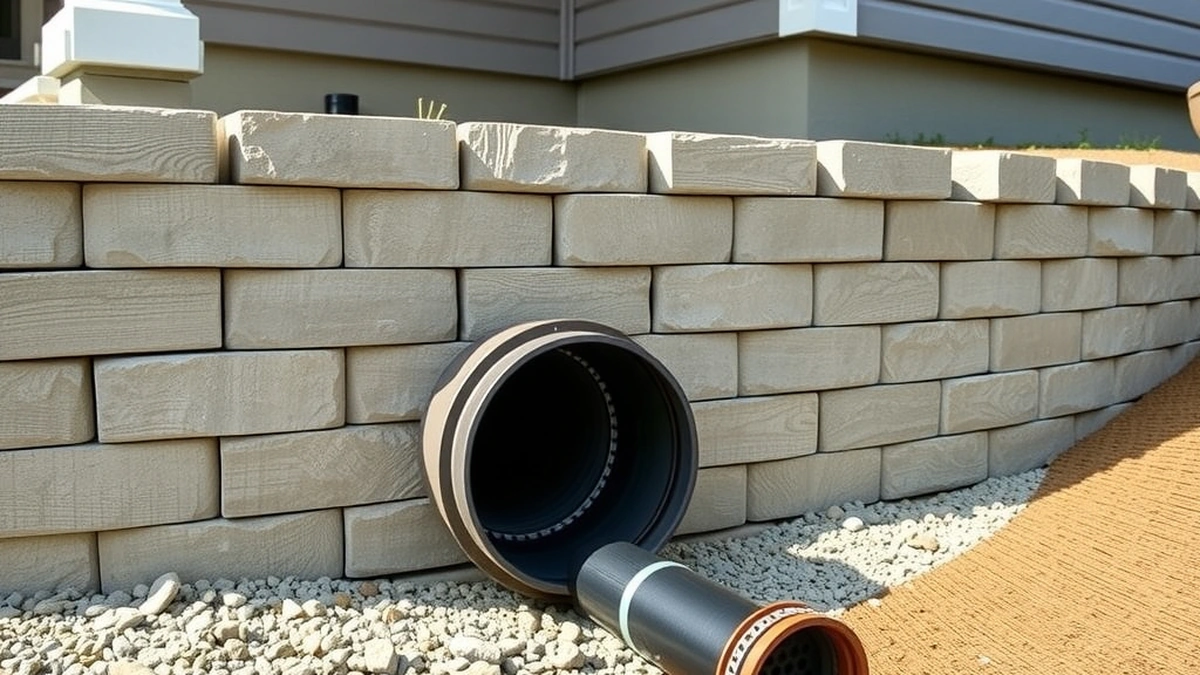
- Place the perforated drain pipe behind the first course, on a bed of washed stone, with the holes facing down and the outlet daylighting below the wall.
- Stack the remaining courses tight, offsetting end joints so no vertical seam runs the full height, and check plumb and batter every second course.
- Backfill with clean crushed stone in 6 inch lifts, compacting each lift before the next, keeping native clay out of the drainage zone.
- Cap the top course, then grade the soil above the wall so surface water runs away from the face rather than over it.
Fasteners should be hot-dip galvanized or stainless. Electroplated hardware in a wet soil environment corrodes quickly and is the reason many older timber walls have loose boards before the wood itself has failed.
Drainage and backfill detail
The drainage zone is the wall. Gravel behind the boards gives water a path down and out; without it, saturated soil doubles the lateral load and the boards bow. Use washed 3/4 inch crushed stone, not limestone fines and not sand, because fines clog filter fabric and stop the drain working.
Wrap the gravel chimney in filter fabric on the soil side, or use a graded gravel-to-sand transition if fabric is not available. Slope the gravel surface at the top away from the wall and cover it with soil and planting so it does not become a visible strip of stone.
Where the wall retains a slope, add surface diversion above it. A shallow swale 2 to 3 feet uphill intercepts runoff before it reaches the backfill. Wall drainage is covered in more depth in retaining wall drainage.
Inspection before you backfill
Backfilling is the point of no return, so inspect before the gravel goes in. Check that the base is level and compacted, that posts are below the failure wedge or tied to deadmen, that the drain pipe is continuous and slopes to its outlet, and that fabric is in place without tears.
Check embedment too: at least 6 to 12 inches of the bottom course below grade, and deeper on frost-susceptible soils. In cold climates, the base should sit below the local frost depth or on a gravel layer that drains, otherwise frost heave lifts the wall each winter.
Common mistakes and limits
The recurring errors are a soil base instead of gravel, no drain pipe, boards butted tight with no tie-back, and native clay backfill. Each one converts a wall into a dam. Another is building too tall: timber is a reasonable system up to about 4 feet, and above that it needs engineering and usually a different material.
Timber is also the shortest-lived option in the group. If the wall will be there in 25 years, compare timber vs segmental block before committing. For a first build, the general sequence in retaining wall installation applies to any material. If you would rather do it yourself than hire out, DIY retaining wall covers the tools and the realistic scope.
Frequently asked questions
What kind of timber should I use for a retaining wall?
Use pressure-treated lumber rated for ground contact, typically 6x6 posts and 2x or 4x horizontal members. Avoid untreated wood and reclaimed railroad ties unless your jurisdiction still permits them, because both rot faster in wet soil.
How far apart do timber wall posts go?
Posts are commonly set 4 to 8 feet on center depending on wall height and soil, with closer spacing on taller walls and on soft or clay soils that push harder.
Does a timber wall need gravel behind it?
Yes. Clean crushed stone behind the boards and a perforated pipe at the base let water leave the wall, which is what keeps hydrostatic pressure from bowing the boards outward.
How deep should the first timber course sit?
Set the bottom course below grade, often 6 to 12 inches, so the wall is embedded and the base is not undermined by runoff or frost movement.
How long does a timber retaining wall last?
Pressure-treated timber in well-drained soil commonly lasts 15 to 25 years, while untreated or poorly drained timber can fail in under 10 because the wood stays wet and decays at the ground line.
Can I build a timber wall without a permit?
Only if your local building department exempts walls under its threshold, which is often 4 feet measured from the footing to the top. Check before digging, and call 811 to mark utilities.
Sources
Some links are affiliate links.If you buy through them we may earn a commission at no extra cost to you. We do not accept payment for rankings. Read the full disclosure.