Patio Retaining Walls: Layout and Drainage Basics
Plan a patio retaining wall with proper layout, soil pressure, and drainage before choosing blocks or materials.
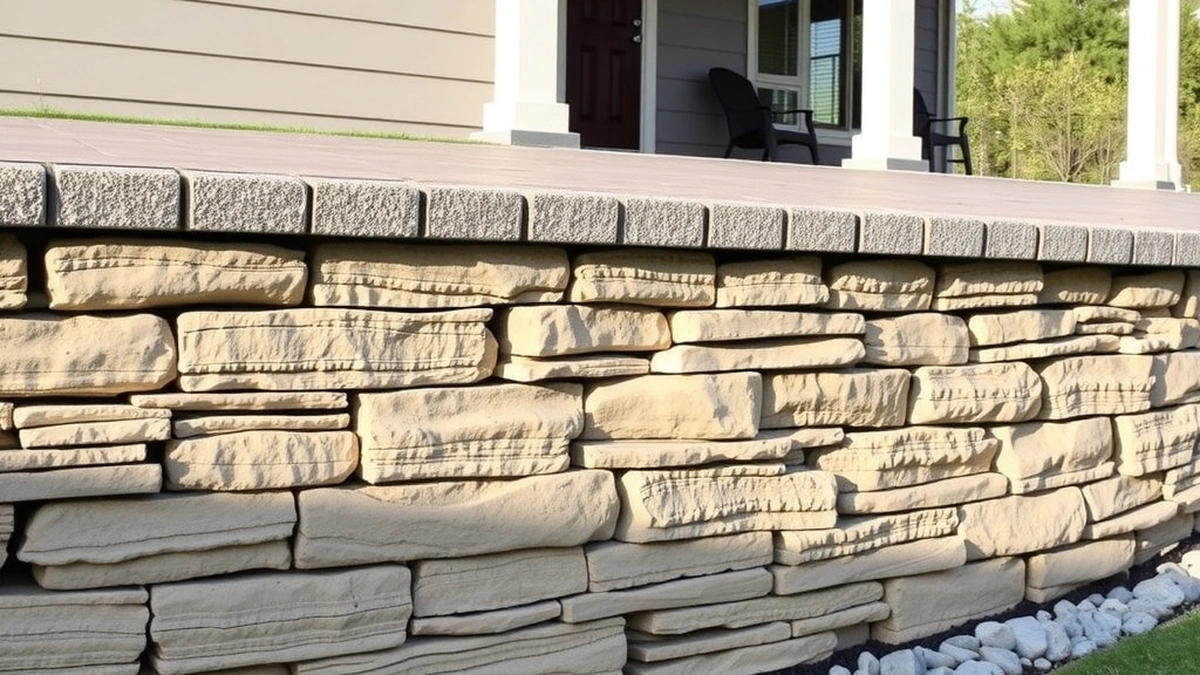
A patio retaining wall needs level layout, compacted base, drainage stone, and a perforated pipe behind the wall before any block is set.
- Primary focus
- Layout and drainage first, block choice second
- Typical block wall cost
- $15–$35 per sq ft
- Drainage and backfill cost
- $5–$15 per sq ft
- Max DIY height
- Usually under 4 ft without engineering
Some links on this page are affiliate links.If you buy through them we may earn a commission at no extra cost to you. We do not accept payment for rankings. Read the full disclosure.
A patio retaining wall holds back soil so you can create a level outdoor surface. The layout determines how much earth the wall must resist, and the drainage system determines how long the wall stays upright. Choose blocks or materials only after the grades, base, and water path are set.
Start With the Patio Grade
Measure the finished patio elevation first. The wall height is the difference between the patio surface and the ground behind it, plus any buried base depth. If the patio sits 2 feet above the existing yard, the wall must retain roughly 2 feet of soil, not counting the base course that sits below grade.
Sketch the wall length on the ground with stakes and string. Keep the top of the wall level unless the patio design calls for a deliberate slope. A level top makes it easier to lay pavers or pour concrete later. Mark where the wall ends and where stairs or transitions will go, because those points change how soil pressure distributes along the wall.
Estimate Soil Pressure Before You Build
Soil pushes against the wall with lateral pressure that increases with depth. A rough rule for estimating pressure on a small residential wall is to treat the retained soil as a fluid-like load that grows deeper toward the base. For a 4-foot wall, the pressure at the bottom is meaningfully higher than at the top, which is why the base course and drainage must be sized for the full height, not just the visible part.
If you are working with clay or poorly compacted fill, assume higher pressure than with sandy, well-drained soil. Clay holds water, which adds weight and hydrostatic force. When in doubt, design for the heavier condition or reduce the wall height. Walls over 4 feet often require engineering or a permit, depending on local code.
Lay Out the Base and Setbacks
Excavate a trench for the base course. For a typical residential block wall, the trench should be wide enough for the block plus at least 6 to 12 inches of drainage stone behind it. Depth depends on wall height and frost line, but a common starting point is burying the first course so that about one-tenth of the wall height is below grade.
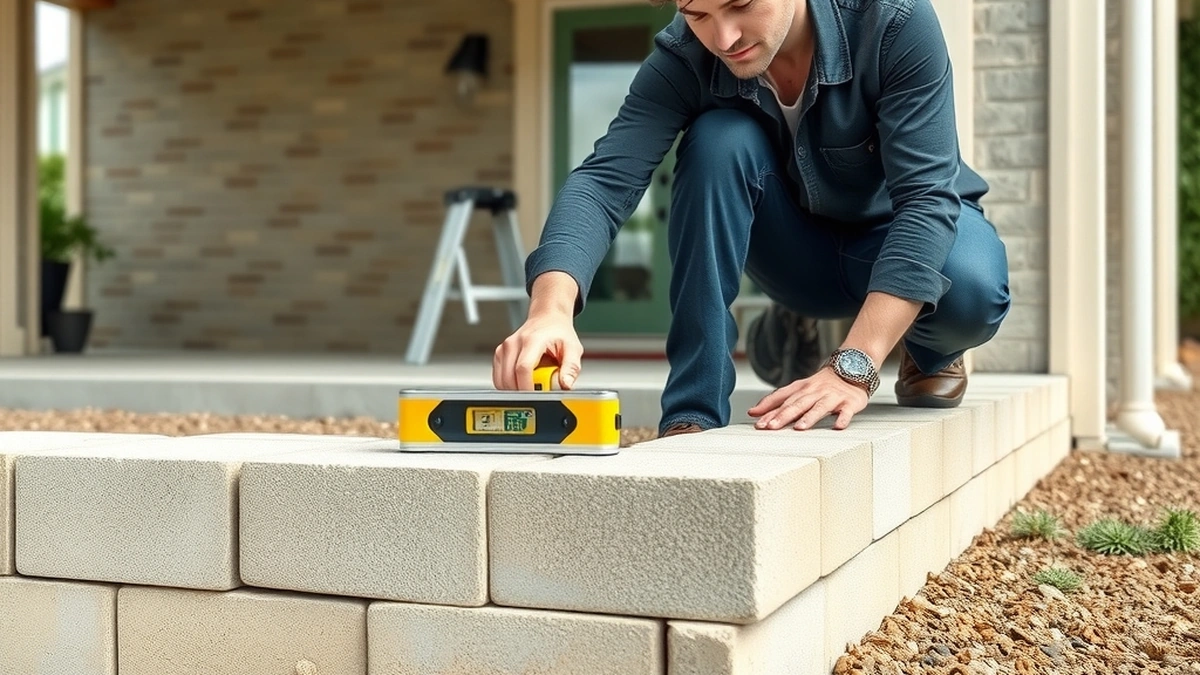
Compact the native soil at the trench bottom, then add 4 to 6 inches of crushed stone. Compact the stone in lifts. The first course of block sits on this stone and must be perfectly level front-to-back and side-to-side. Use a rubber mallet to tap blocks into place, and check every course with a level.
Most segmental retaining walls are built with a setback, meaning each course steps slightly backward into the hill. This uses gravity to help the wall resist soil pressure. Follow the manufacturer’s setback specification; do not improvise the batter.
Install Drainage Before Backfill
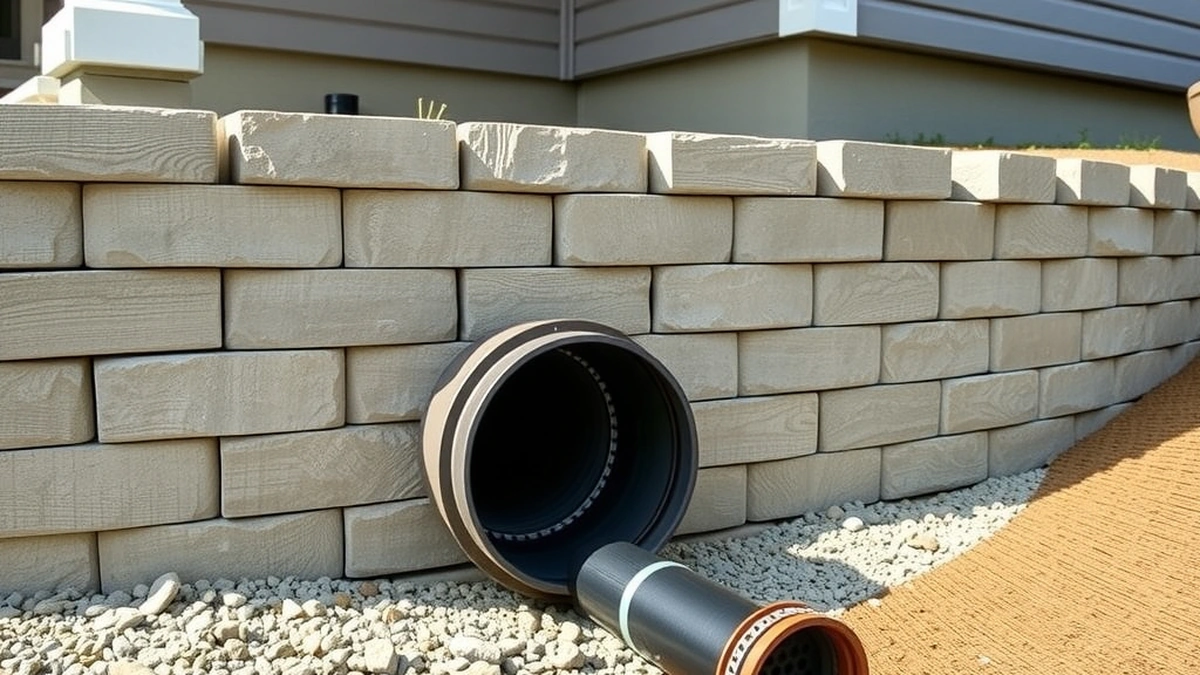
Drainage is not an add-on. It is part of the structure. Place a perforated drain pipe at the back of the base course, with holes facing down. The pipe should slope at least 1/8 inch per foot toward a daylight outlet or a dry well. Cover the pipe with at least 12 inches of clean, crushed drainage stone, wrapped in filter fabric to keep fine soil from clogging the stone.
As you build each course, add drainage stone behind the wall and compact it in thin lifts. Do not dump soil behind the wall all at once and compact from the top; that can push blocks out of alignment. Build and backfill in stages so the wall and fill rise together.
Water that reaches the drain pipe should exit away from the patio and the house foundation. If daylighting is not possible, connect the pipe to a solid drain line that carries water to a lower point on the property.
Compare Wall Material Costs
Material choice affects cost, durability, and how much drainage detailing matters. These are installed cost estimates per square foot of wall face, not including drainage and backfill unless noted.
| Wall type | Estimated cost per sq ft |
|---|---|
| Segmental block | $15–$35 |
| Poured concrete | $25–$60 |
| Timber | $10–$25 |
| Gabion | $20–$40 |
| Boulder | $20–$45 |
Add $5–$15 per square foot for drainage and backfill work. For example, a 20-foot-long, 3-foot-high patio wall has 60 square feet of face. A block wall at $25 per square foot costs about $1,500 for materials and labor. Drainage and backfill at $10 per square foot adds about $600. The total estimate is roughly $2,100, not including permits, engineering, or site preparation.
Timber is the lowest cost option but has the shortest service life, especially in contact with moist soil. Poured concrete costs more but forms a monolithic wall that may need less joint maintenance. Block walls are common for patios because they combine modular installation with drainage channels designed into the system.
Connect the Patio Surface
Once the wall is built and backfilled, finish the patio surface above it. Pavers, concrete, or stone should slope away from the house at about 1/8 to 1/4 inch per foot so rainwater runs off the patio rather than pooling behind the wall. If the patio surface drains toward the wall, it defeats the drainage system you installed behind the blocks.
Install edging or a border between the patio and the wall so surface water does not run directly down the back of the wall. Keep downspouts and irrigation heads away from the wall area. Concentrated water near a retaining wall is one of the most common causes of premature failure.
When to Get Help
Walls taller than 4 feet, walls supporting a driveway or structure, and walls in poor soil often need a design from a qualified professional. Local building codes may require permits and inspections even for lower walls if they support a surcharge, such as a patio with heavy furniture or foot traffic. Check with your building department before excavation.
If an existing patio wall is leaning, cracking, or holding water, review repair and maintenance guidance before adding load on top of it. A wall that is already moving should not be treated as a stable base for a new patio surface.
Good layout and drainage cost less than rebuilding a failed wall. Set the grades, move the water, compact the base, and then choose the block that fits the design and budget.
Read more about two-tier retaining walls
Frequently asked questions
What comes first, layout or block choice?
Layout and drainage come first. You must establish grades, soil pressure, and water paths before selecting any wall material.
How much does a block patio retaining wall cost?
Expect roughly $15 to $35 per square foot for the wall itself, plus $5 to $15 per square foot for drainage and backfill work.
Do I need drainage behind a patio wall?
Yes. Water trapped behind a wall adds hydrostatic pressure and can cause leaning, cracking, or collapse over time.
Can I build a patio retaining wall myself?
Many walls under 4 feet are DIY-friendly if you follow layout, compaction, and drainage steps, but taller walls often need a professional.
What is the best base for a retaining wall?
A compacted crushed stone base, typically 4 to 6 inches deep, extends below the first course and supports the wall evenly.
Where can I learn more about retaining wall installation?
Review the full installation guide linked in this article, and check local building codes before starting any structural work.
Sources
Some links are affiliate links.If you buy through them we may earn a commission at no extra cost to you. We do not accept payment for rankings. Read the full disclosure.